As part of the total Montessori approach to the development of language, here are the first stages to having the keys to write and read in English, according to Muriel Dwyer:
Feel free to browse the previous stages at will. We have printable materials and references to go along with these stages. Now, we are at Stage 3: Movable Alphabets!
Use of Movable Alphabets in Montessori
When the child is already familiar with 16-20 sandpaper letters and very aware of the sounds, the movable alphabet is introduced (at around 4 years old). It should be emphasized that necessary preparation of the child and adult and proper presentation are very important to see the child’s engagement and progress.
The purpose of this stage is to enable the child who can neither read nor write to express his thoughts freely in words and eventually, in sentences and stories. This helps the child to explore further the words he knows to speak and reproduce them with graphic symbols. This prepares the child to write with pencil.
Kinds of Movable Alphabet Letters
Large Movable Alphabet

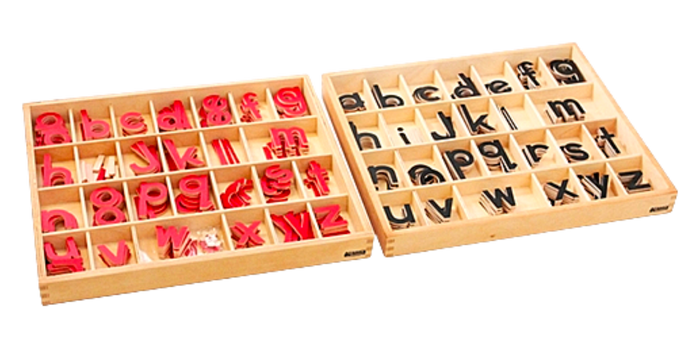
This includes a box of letters of the alphabet cut from wood, placed in designated compartments.
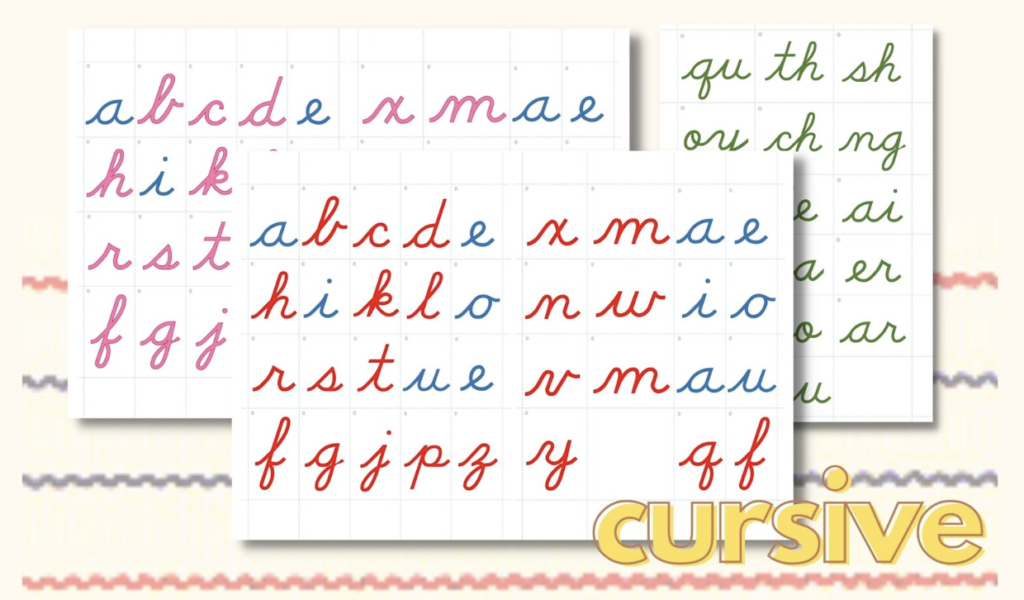
A smaller version (print and cursive) of this is also available which is ideal in homeschool setting for the size and portability.
This large version is useful for associating the similar letters (and sounds) in the sandpaper letters and the movable letters. Thus, the colors of the letters should match (e.g., consonants in pink/red, vowels in blue).
Small Movable Alphabet
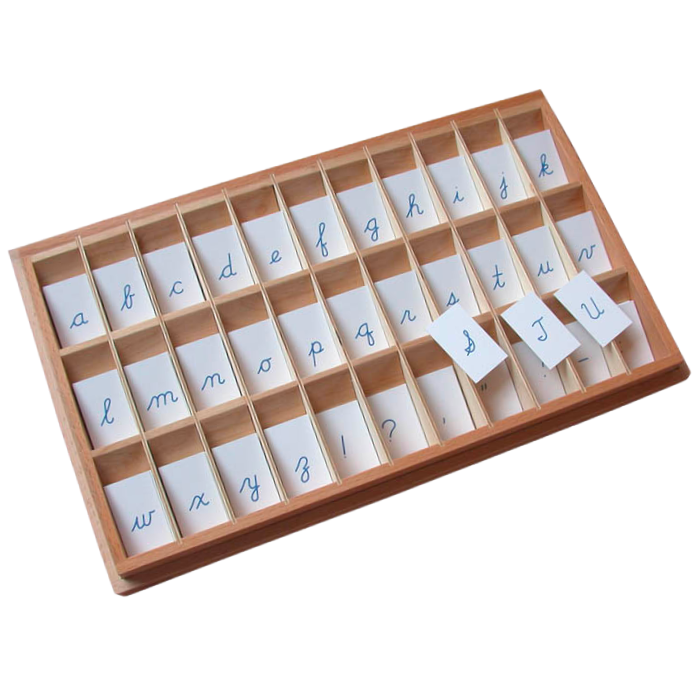
This includes letters (and punctuations) printed on paper and laminated, or on cardstock, placed in a box with compartments. This is useful for longer movable alphabet work and for learning the uppercase letters (which are printed at the back of each letter).
The Small Movable Alphabet are placed in the environment in 2 different colored sets for primary level (e.g., one complete set in blue, one in red).
Another set in black (or of another color) is added in the elementary level.
How to Present the Movable Alphabet
First, prepare a mat where the child can put the movable letters on, as he would on lined paper. You can find our fabric writing mat here:

Stage 1: Sorting
The child should first practice replacing a few letters back into the correct compartments. This helps the child to familiarize the positions of each letter and avoid frustration in returning them.
Stage 2: Individual words
The adult encourages the child to think of a word and what sounds it is made up of. Then the letters corresponding to each sound is taken out of the box and placed in order on the table/mat. This is repeated with more words as long as the child is interested.
Stage 3: Short phrases
The adult asks the child some leading questions to come up with a short phrases, such as “the work mat” or events that happen in his day, such as “I brush my teeth”. Show the child how to place a two finger width space between each word.
Note: the words may not appear following the rules of spelling, since the sounds are initially taught to be represented with just one symbol (e.g., plai for play, foan for phone)
Stage 4: Unrelated Sentences
Write with the child a sentence on a particular topic. Encourage the child to think of another topic and to write a sentence about it. You can introduce the small movable alphabet as a tool for writing many sentences.
Stage 5: Related Sentences in a Short Paragraph
The adult asks the child some leading questions to guide the child in forming a basic storyline (group of sentences, paragraph). The child should be encouraged to write paragraphs at any time.
Using printed movable alphabet letters can already be used at this stage.
Stage 6: Stories (Series of paragraphs)
The adult asks the child leading questions to help the child come up with more fun ideas on the same topic. The child is encouraged to write more than one paragraph.
“When the children do not use the movable alphabet well, it is a sure sign that the preparation has not been well done and usually that a lively approach is lacking. Sometimes, directresses say that the children cannot think of words, stories, news, or poems to write. If this is the case, then surely the activities for the development of spoken language have not been well-covered or at least enthusiasm for language has not been aroused…
We open the door by helping the children to develop their spoken language, by giving them the 40 graphic symbols (sandpaper letters), and by encouraging their enthusiasm. With this preparation, they have the possibility to write anything and everything they know.”
Muriel Dwyer (1977)
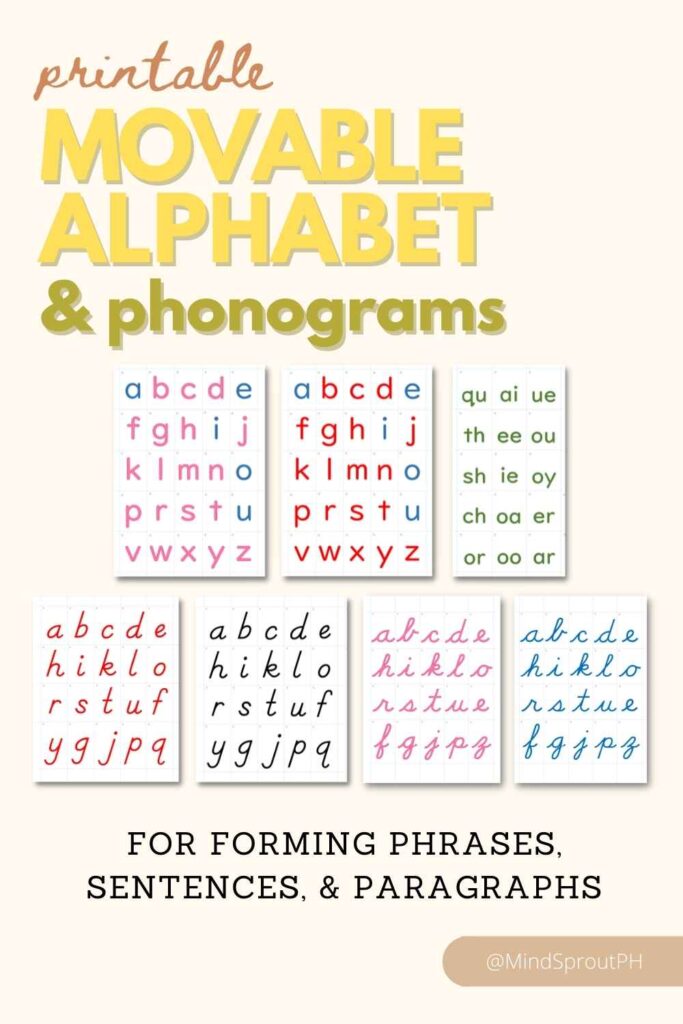
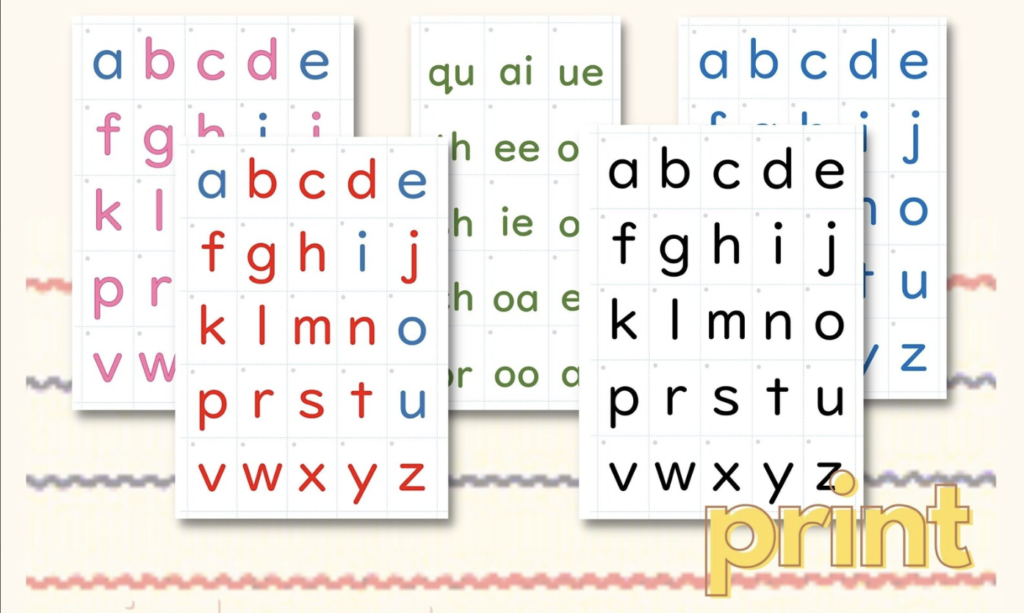
Check out these Small Movable Alphabet and Phonograms DIY printables.

Read next: Stage 4 — Phonetic Object Box
If this article has been helpful, pin it and share the link to your friends. Would love to know if you used these, TAG @MindSproutPH in your IG posts/stories and receive special discount at our store!


